info@biz4group.com


Imagine a digital system that doesn’t wait for instructions but instead, understands your business goals, learns from real-time feedback, and takes independent actions to get the job done.
Read More
PUBLISHED ON : 12-11-2024
SHARE THIS BLOG:


Chatbots are spreading their roots worldwide; every company wants to deploy or integrate them with their systems. But why is everyone running behind the integration and deployment of chatbots?
The rationale for chatbot integration with ChatGPT is to bring an individualized experience to those customers that are bored of common issues. Chatbot responds at the microsecond level and thereby a person gets to have answers on his/her fingertips.
So, if you want to develop your one, here is a guideline for you that enables you to use the Google Cloud Platform (GCP) to develop an AI-powered chatbot. First, let us introduce you to the necessary jargon.
So, before proceeding with the steps of developing the chatbot, we need to understand the Dialogflow platform & Google Cloud platform.
Let’s find a new way to interact and engage with your customers & how Dialogflow platform will make it possible.
Dialogflow is a natural language understanding (NLU) platform that makes conversational user interface designing and integration into mobile apps, web applications, devices, bots, and interactive voice response systems easy. It understands the multiple inputs of the user in audio and text format.
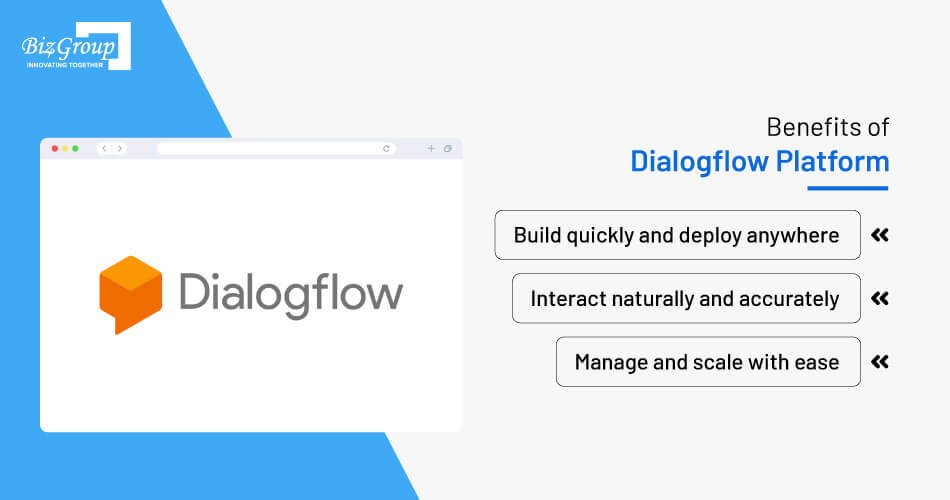
Advanced NLU enables accurate and context-aware responses.
Integrates seamlessly with multiple platforms and devices.
Google Cloud hosting ensures scalability and reliability.
Maintains conversation context for personalized interactions.
Supports over 20 languages for a global audience reach.
Offers pre-built agents and templates to speed up development.
Provides analytics for insights and chatbot optimization.
Automates routine tasks, reducing operational costs.
Also Read: Chatbot in Education Industry: Applications, Use Cases, Benefits, and Development Cost
The benefits show that Dialoglfow makes the journey of chatbot development easy and hassle-free. The features are mesmerizing and show how you can develop the AI conversational models easily:
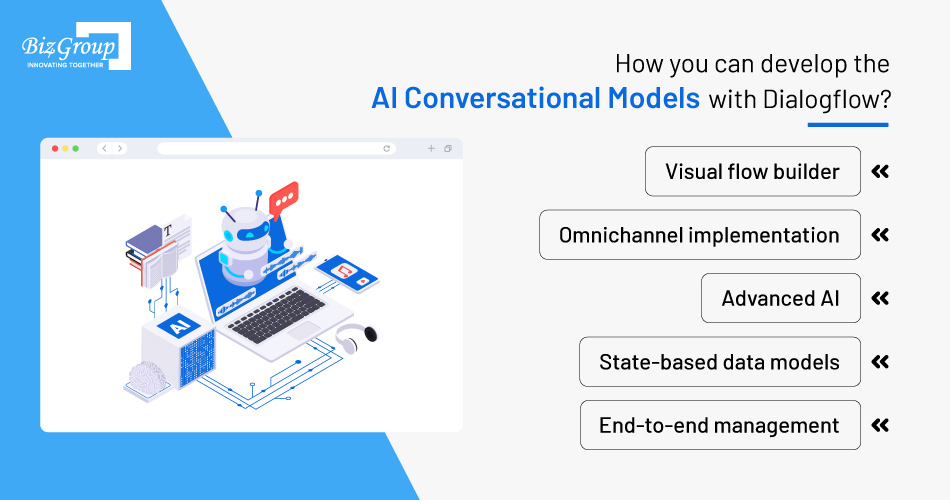
Visual flow builder – It reduces the time and allows builders to edit, see, understand, and share the work across teams.
Omnichannel implementation – Deploy it anywhere you want just by building it once.
Advanced AI – Apply BERT – based natural language understanding models to easily understand the intent and context.
State-based data models – Provide multiple aspects for the user and once ended let them return to the main flow.
End-to-end management – Get everything under the Dialogflow platform.
Well, features are the first and most important aspect while picking an AI chatbot development platform to build a brand new custom chatbot. Also, there are some other factors like - what kind of services the business needs to be automated, what type of client base it holds, and what sort of interface is needed.
To be honest, custom chatbot development is not something sore and also needs the development of cloud platform capabilities with Dialogflow. However, there are key parts to consider here, which may include; the use of Machine Learning and AI; App Engine, Cloud SQL, Big Query, Cloud AI, Vision API, and Custom chatbot development skills.
Getting confused? Well, you don’t have to be. We have Dialogflow experts on board. Get in touch with us to get started with your custom chatbot. If you want to have a deep dive, keep reading.
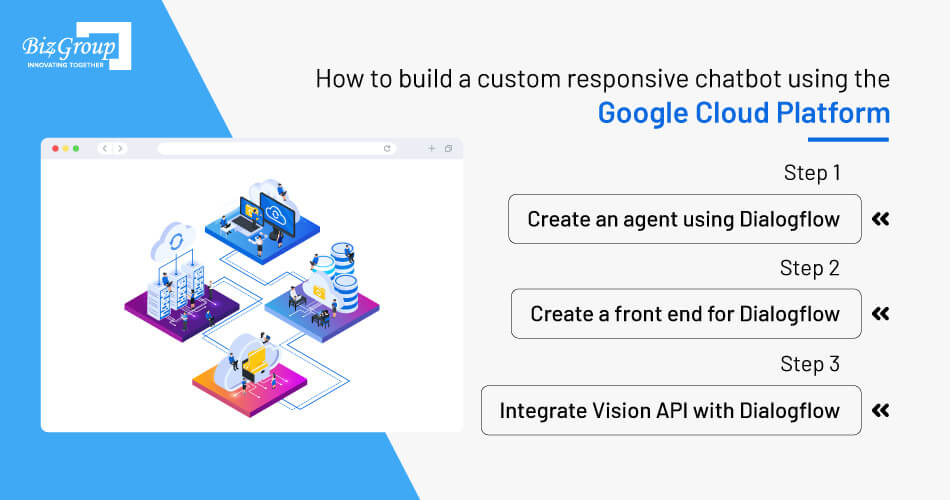
Every business wants to have a customized responsive chatbot that can communicate to the customer or maybe the employees; some companies would also want their chatbot to automate processes (like first-level customer support). Plus, they want their chatbots to be secure, visually appealing, and with multiple functionalities.
So, here is a step-by-step guide for you to build a GPC chatbot:
Dialogflow facilitates two different virtual agents' services with their own type, API, user interface, client libraries, and documentation. These two are: Dialogflow ES and Dialogflow CX.
The ES is for the standard agent type and is suitable for small agents and the CX is an advanced version of it and handles complex agents.
So before integrating the API and having it in your front end and back end, there is a need to create an agent. The agent is related with the help of two stated forms and follows a different approach:
Here is How to Create a Dialogflow ES agent:
1. Visit the Dialogflow ES Console.
2. Sign up/in to the Dialogflow Console.
3. Hit “Create Agent” in the left sidebar menu.
4. Enter your agent's name, default language, and default time zone.
5. If you have already created a project, enter that project. Or, if you want to allow the Dialogflow Console to create the project, select “Create a new Google project.”
6. Hit the “Create” button.
7. Enable the billing and configure it to the created project.
8. Enable the Dialogflow API (which will be discussed further below)
9. Enable the audit log
10. Install the Google Cloud CLI
11. Set up authentication and access control
12. Install the Dialogflow content library and do a cleanup after testing
Now, the agent is all set to go, and you can check with the set response you configured in prior quick starts. Also, read the Dialogflow ES basics to understand the most fundamentals concepts of Dialogflow ES.
Create a Dialogflow CX agent
Agent (This we are going to learn underneath) - The agent controls and manages the conversations with the end user as it is an NLU module. The Dialogflow translates the end-user text through NLP and update complex aspects understood by it (with the help of VisionAPI – we will discuss it later)
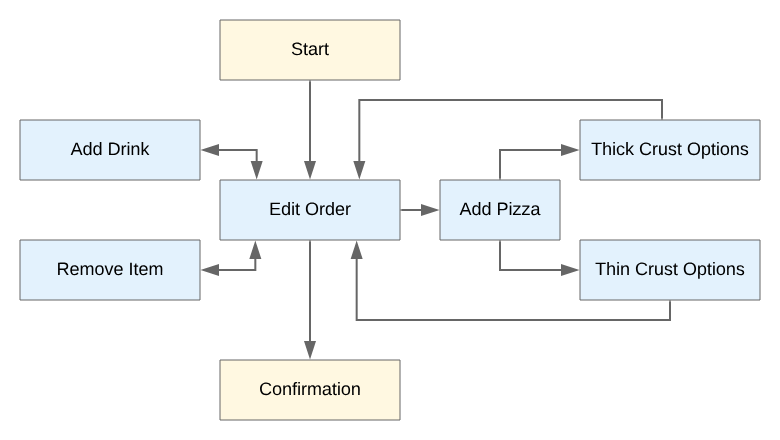
Flows – Flows are defined during the design of the App and involve multiple conversations. A simple flow is defined in the ES and especially designed for a simple agent, but a complicated agent requires additional flow. Take a look at the flow illustration below for food order.
Source: Google Cloud
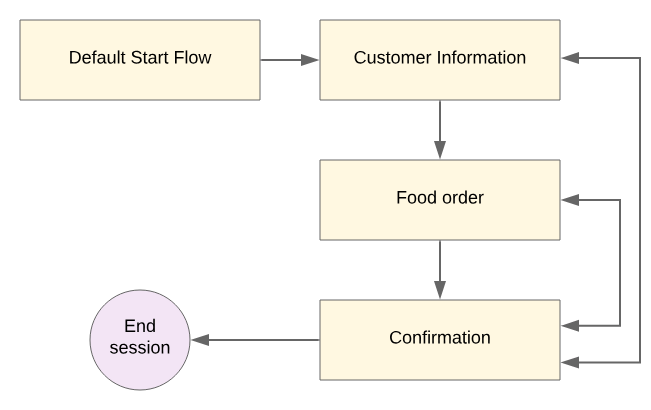
Pages – Every conversation is defined as a session and visualized and described as a state machine. The states of CX sessions are represented by pages. Every flow has a page to handle the complete conversation on the flow topic. Every flow has a special start page, and the initial page becomes the current page.
Source: Google Cloud
Entity types – The Dialogflow provides predefined system entities that can match any type of common data. CX and ES entities are similar, and entity helps in extract the input from end-user.
Parameter – These are structured data that can easily be used for performing logical and generative responses.
Forms – Every page has a form, and it helps in collecting the data from the end-user page. It collected the required form parameters from the multiple conversations which are known as page parameters.
Intent – It categorizes the end user's intention with the conversation.
Integration – The Dialogflow CX facilitates various built-in integrations with the other chatbot platforms. It provides the user interface for the end user and later on the Dialogflow API will be called. Every integration is different, and you need to check integration documents for it.
Interaction – Every conversation is an interaction, and an end-user sends input to the Dialogflow and Dialogflow responds to it.
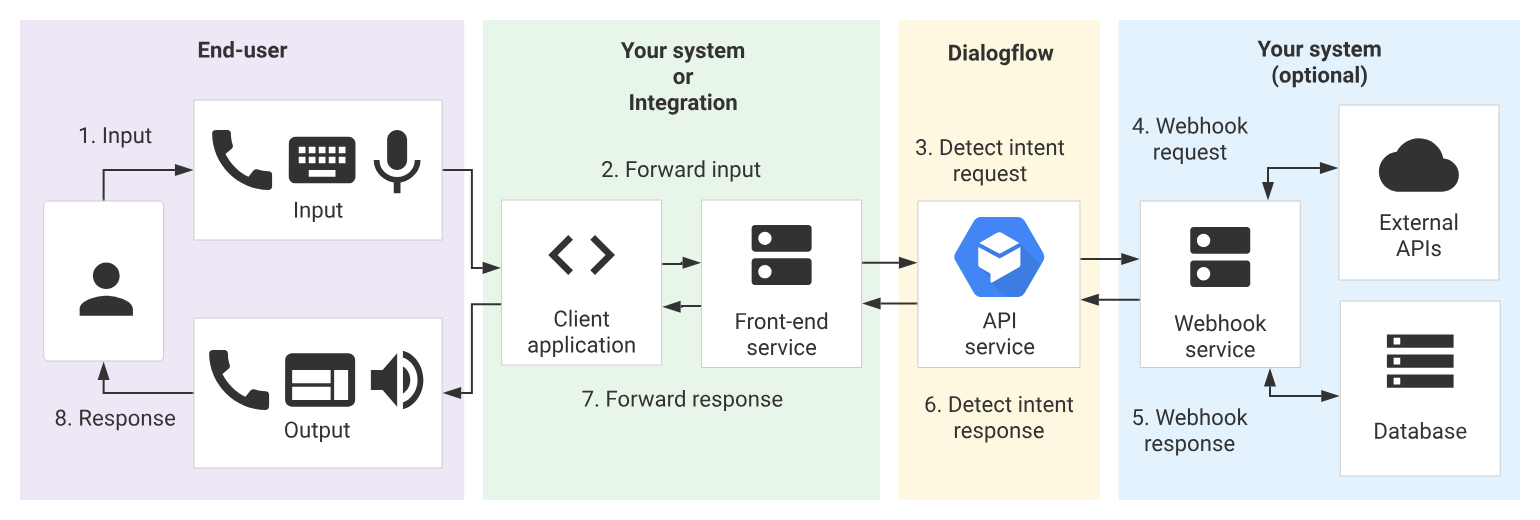
Source: Google Cloud
The above discussion shows the use of Dialogflow CX and building an agent with it is simple. The virtual agents are handling the conversation like a human and work on a natural language processor.
Just follow the below steps for creating the agent with Dialogflow CX:
Open the Dialogflow CX Console.
Create a new or choose an existing Google Cloud project.
Click “Create Agent”.
Fill out the form for basic agent settings. The form will require the following information:
Display name
Preferred time zone
Default language for your agent. Note that you cannot change the default language for an agent once it is created
Click Save
Not only a single agent, but you can also develop multiple and different kinds of agents for managing and handling the conversation. Here are some of the agents that works in different frames:
Multilingual agent
Prebuilt agents
Agent collaboration
You can refer to guide by the Google for it or just contact the Biz4group GCP chatbot development team, we are here to take your chatbot to the next level.
In this, the second step is to use App Engine front end for the Dialogflow. After the agent is built, it can integrate easily with the front end of the choice. The selected frontend framework is the preferred choice of the user like Django, Angular, Next.js, Bootstrap, jQuery, and many more.
The App Engine is used to develop and manage chatbots at scale with the popular framework. Once everything is initiated through App Engine, it will interact with the Cloud SQL for the database request.
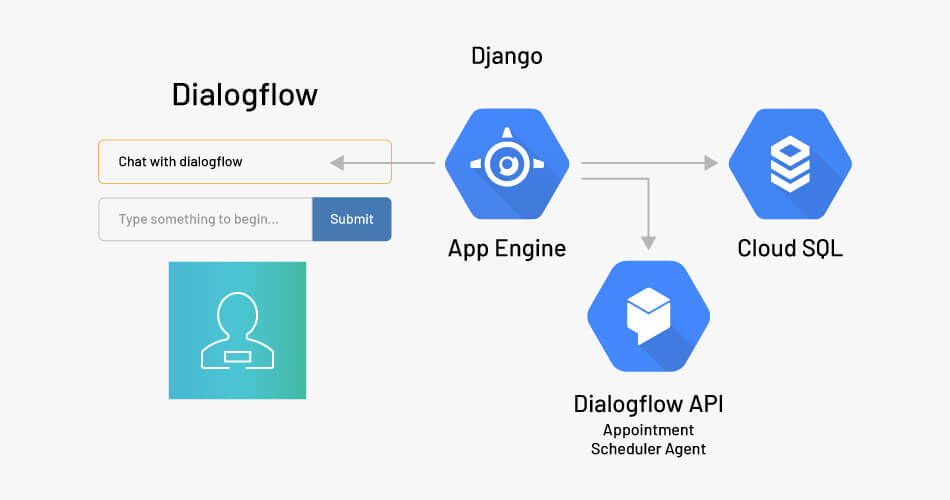
Create Cloud SQL in GCP Console. App Engine will also interact with the Dialogflow agent with the API and now you need to create Cloud SQL in the Google Cloud Platform Console. Once created, take note of the connection name and create the database with username and password. (If you don’t have the Cloud SQL proxy, download and install it).
1. Form proxy connection to connect local computer - Now, start your Cloud SQL proxy with the connection name copied earlier while creating the Cloud SQL instance. This would help in forming the connection between the local computer to the Cloud SQL instance for testing purposes & keep the proxy running throughout the time.

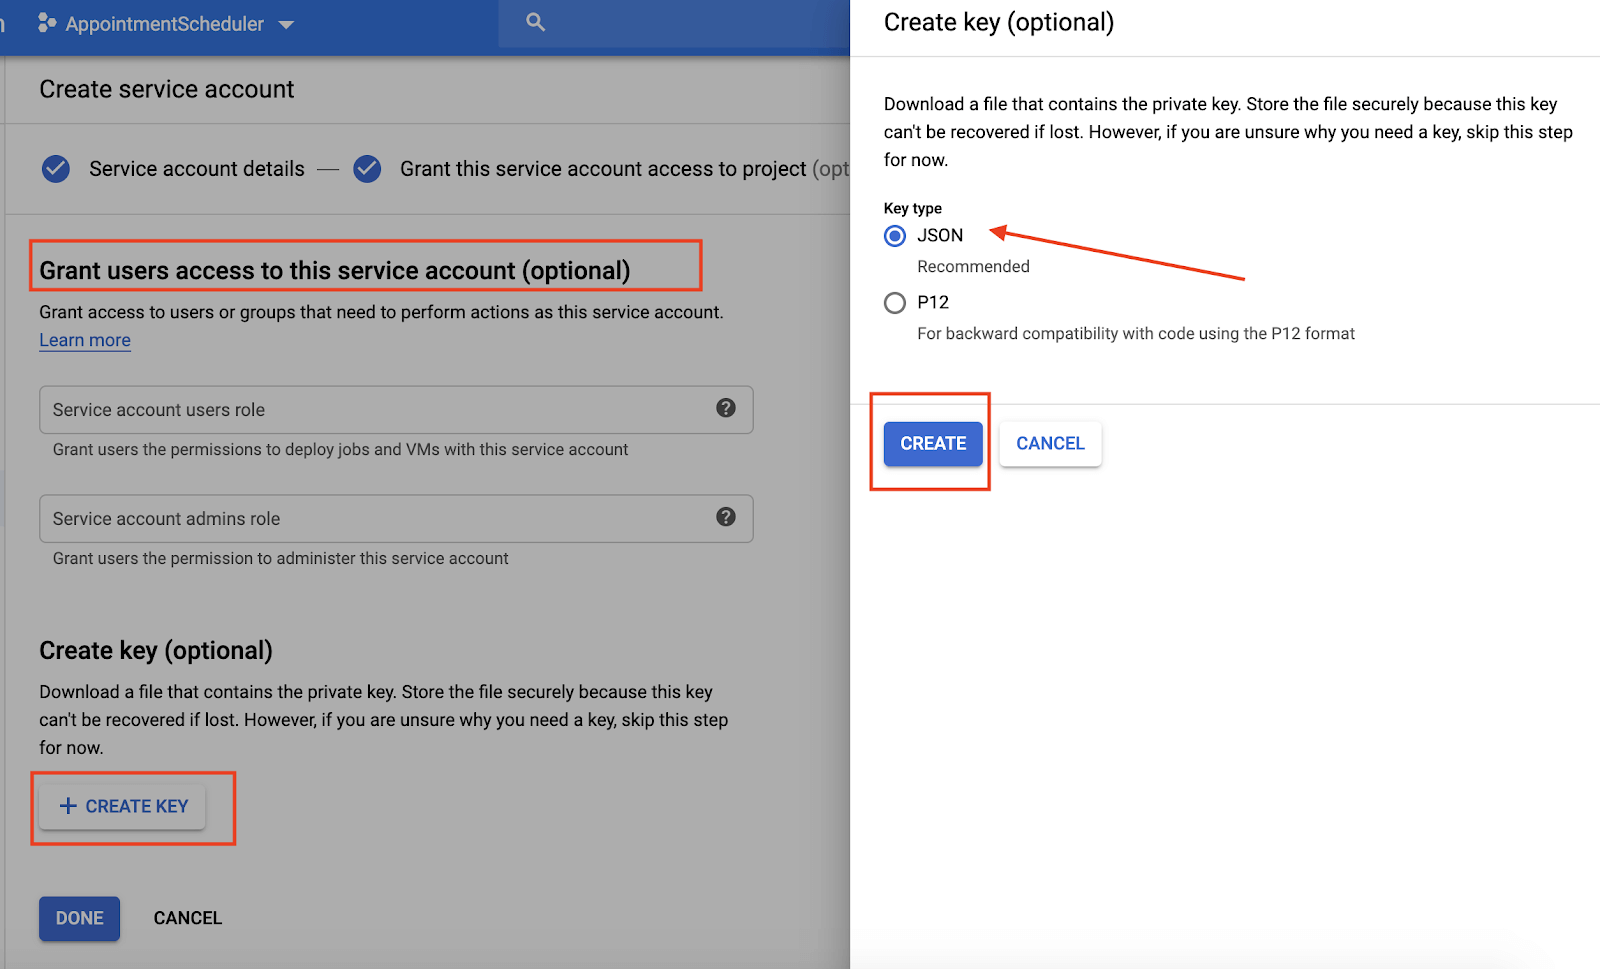
2. Download the service account key - From the Google Cloud Platform Console, download the service account key too (API & Services) from the hamburger menu in the credential section. Click on the Create credentials button and download the service account key from the dropdown menu.
3. Download JSON File and save settings - The JSON file will be downloaded after giving a name and hit on the click button. Now open settings.py in MySite Folder and replace the username and password with the ones we created earlier. Now, it will help in forming the connection between the database for the App Engine deployment and local testing. Replace the database with the name of the cloud SQL database. Now save and close the settings.pv.
4. Dialogflow detects intent endpoint - Now our next step is to set up the Dialogflow detect intent endpoint. It will be called from the application (chatbot application) and it will be done through the views.py file in the chat folder. Now, just change the Google Project ID with the GCP project ID. Once done, here you need to call the Dialogflow API.
5. Create a virtual environment - To run the app in the system, there is a need to create an environment. Run the command and create the virtual environment. Here with the help of execute source, activate the virtual environment. Once done, the environment will be seen in the terminal that shows the virtual environment.

6. Run commands for the local web server - The next stage is to execute the pip install –r requirement.txt & it will install the requirement into the framework. Run the three migration commands for setting up the models and here we are good to go to for starting the local web server.
7. The app is ready to deploy - Once the server starts running, navigate it through localhost & can check that the app is running locally. Here the app is all ready to deploy on the App Engine. So, start gathering all the static files in one folder.
8. Navigate and check the App - Now run the cloud app deploy to deploy the application on App Engine. Navigate to the app and check whether everything is running and working fine or not.
That’s all for the second step and now we have successfully created and deployed a Dialogflow to the App Engine using a front-end framework. This is just a first step towards the google cloud chatbot development and our next step is to integrate VisionAPI with Dialogflow. Let’s move to the next step and find out what we need to follow in GCP Chatbot.
The chatbots are run on machine learning that learns from the conversations taking place between the user and the bots. But do you know, a vast number of codes are running behind the app or system while making any conversation?
The APIs are making a special effort to do so, and the Vision API enables developers to integrate features in the application like image labeling, face and landmark detection, optical character recognition (OCR), and tagging of explicit content.
This step will enable you to integrate the API with Dialogflow so that google cloud chatbots can run without any errors:

1. Open-source framework to interact with database request - The chat app is deployed on App Engine with the help of an open-source framework, and it will interact with Cloud SQL for the database request. Once the user uploads the file, it will be saved into Google Cloud Storage & the app will interact with the Dialogflow agent with the Dialogflow API.
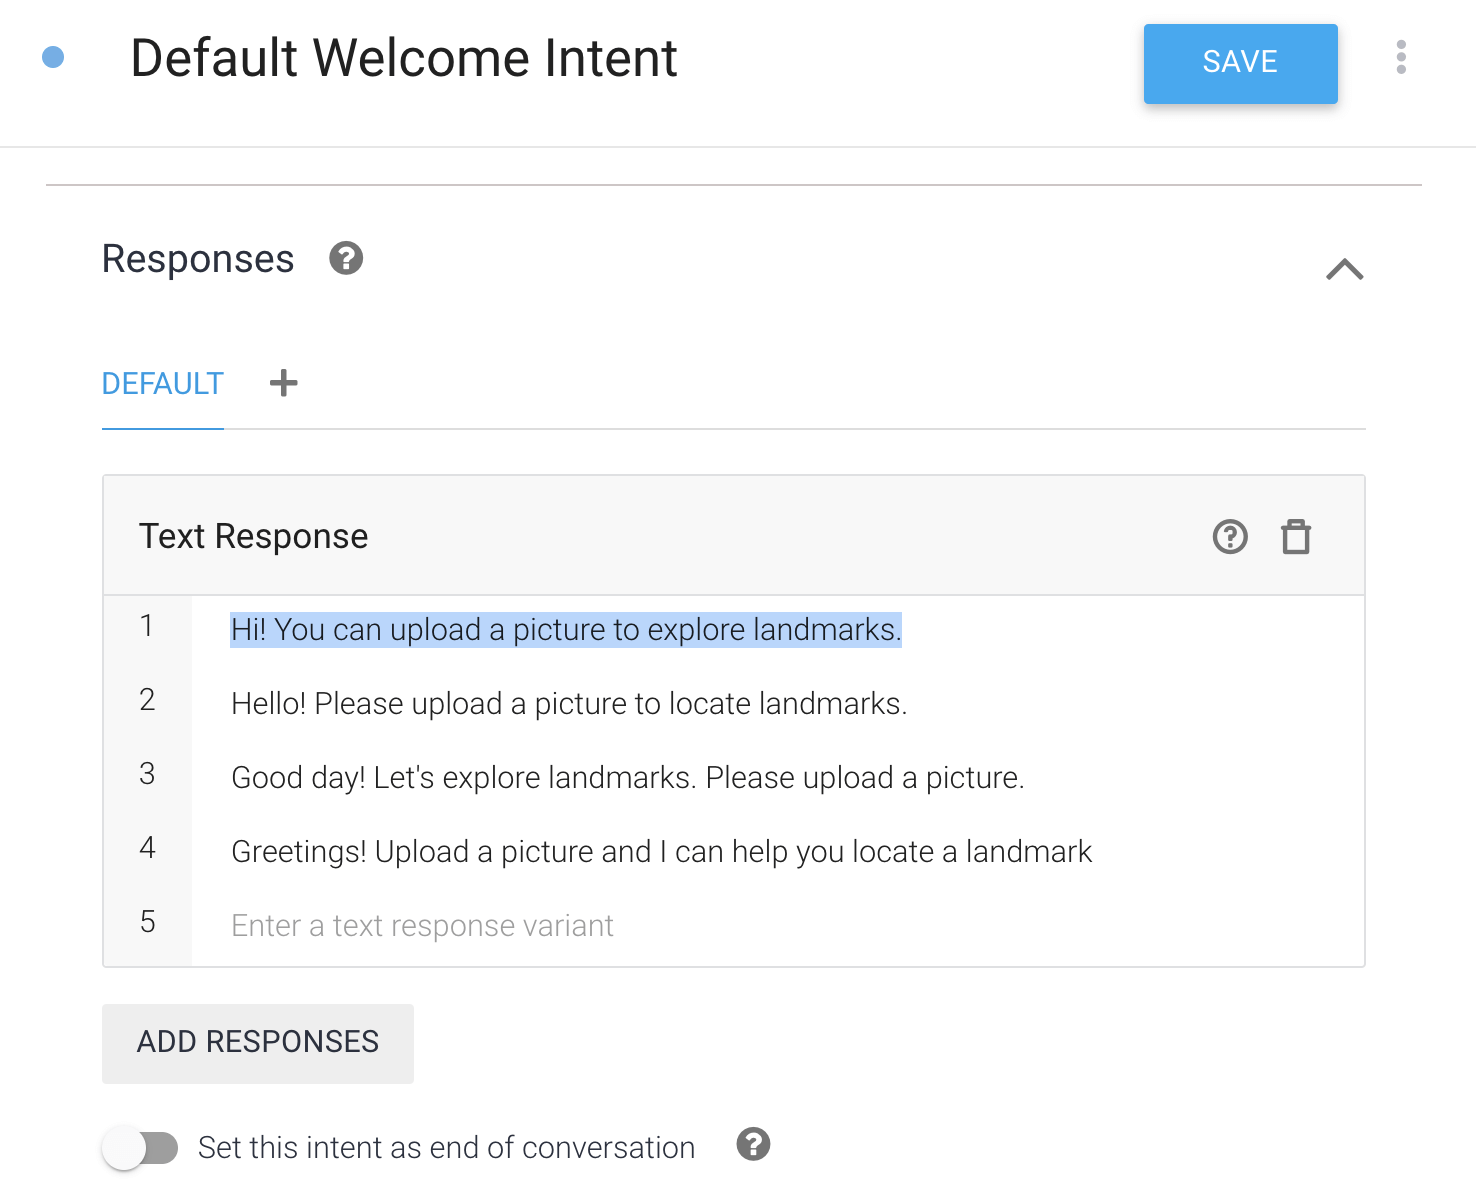
2. Check the intent - First, let's look at the Dialogflow console. Here all the intents are available which signify and show the application and the business. This includes a list of questions that could be asked by the user.
3. Check code is deployed - Now, move to the front-end code and check the plumbing in the application interface. Check the intent map section and define a new intent map for file upload.
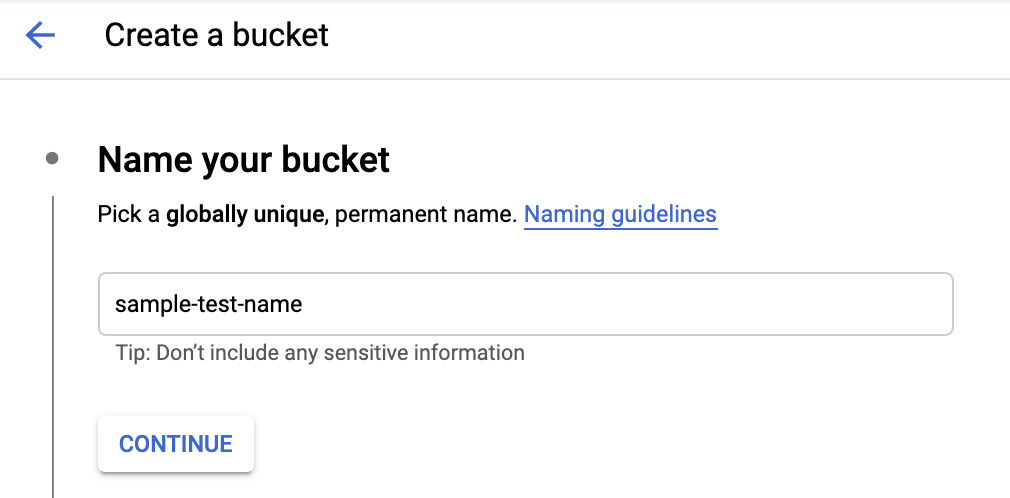
4. Call function and GCS Bucket Pod - Call a function to handle vision API requests & create a GCS bucket pod & call the Vision API. Here the text detection approach is used and passes the GCS bucket pod from where the file will be pulled.
5. Integration is done - Now JSON will detect the text. Here, we can change the VisionAPI methods too to check the labels, logo, text, and other functionalities. Here, it will be integrated into the API, NLP, and even the custom API.
Though, now we have completed and learnt “how we can create Dialogflow front end on App Engine using the framework and integrate it with the Vision API on the back end.” You can develop a Google Cloud Chatbot with the Dialogflow platform by enabling the stated functionalities.
If you want to build your custom chatbot for operational functionality and want to bring a personalized experience - Biz4Group is here for you. We’re an AI development company with expertise in generative AI development services as well as conversational chatbots. We can build your AI chatbot using the Google Cloud Platform.
• How do I get started with building a custom chatbot on Google Cloud Platform (GCP)?
You can start by creating a GCP account, setting up a project, and choosing a chatbot framework like Dialogflow. Then, follow the documentation and tutorials to begin building your chatbot.
• What are the typical costs associated with building and hosting a chatbot on GCP?
The costs can vary starting from $7000 based on factors like the complexity of your chatbot, the number of interactions, and the resources used. GCP offers a pricing calculator to estimate costs, and many services have a free tier with limited usage.
• Is Dialogflow the only chatbot framework available on GCP, or are there other options?
While Dialogflow is a popular choice, GCP supports various chatbot frameworks. You can explore alternatives like Chatbase and use the one that best suits your project requirements.
• How can I ensure that my chatbot remains cost-effective over time?
Monitor your chatbot's usage regularly, optimize your code and resources, and take advantage of GCP's cost management tools. Set budget alerts to avoid unexpected expenses.
• Are there any specific GCP services or features for analytics and tracking chatbot performance?
GCP offers services like BigQuery for analyzing chatbot interactions and Cloud Monitoring for tracking performance metrics. These tools can help you gather insights into user behavior and optimize your chatbot.

with Biz4Group today!
Our website require some cookies to function properly. Read our privacy policy to know more.